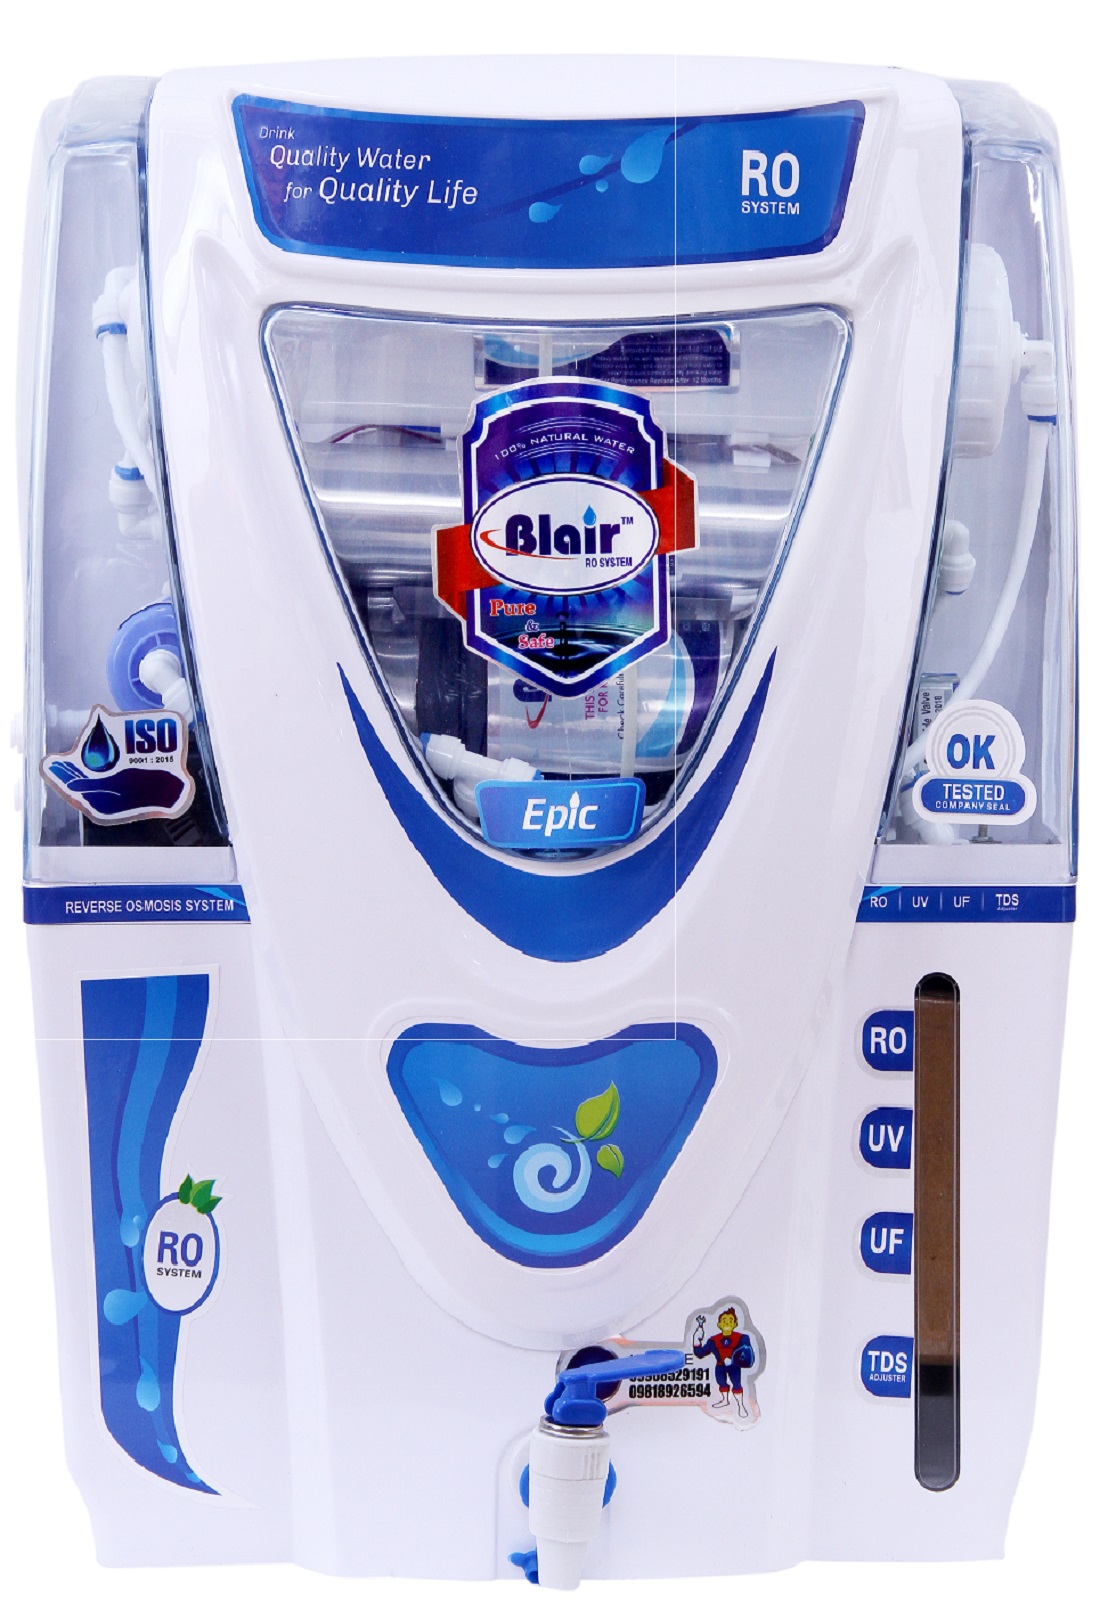
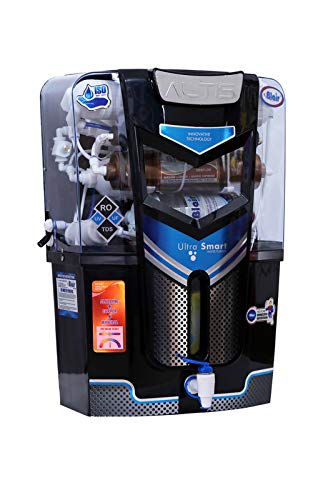
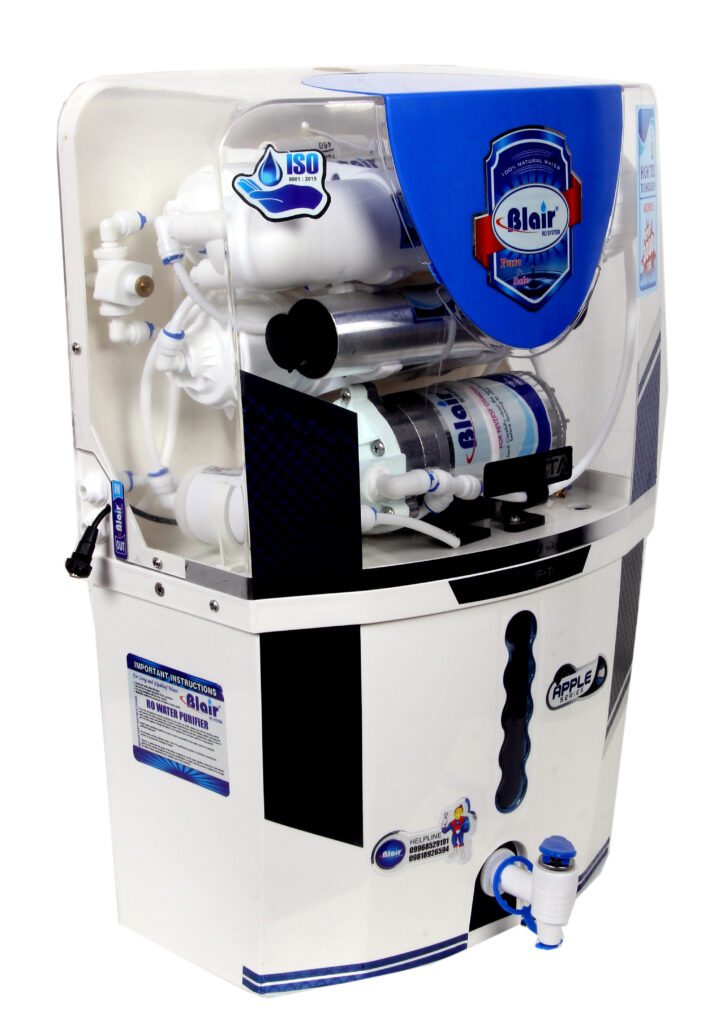
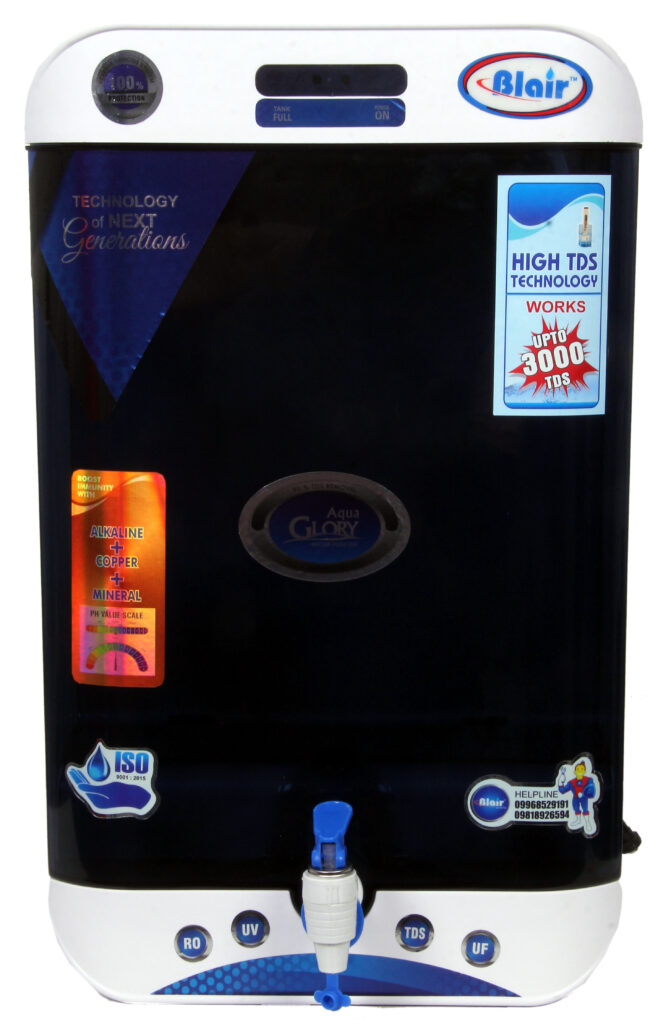
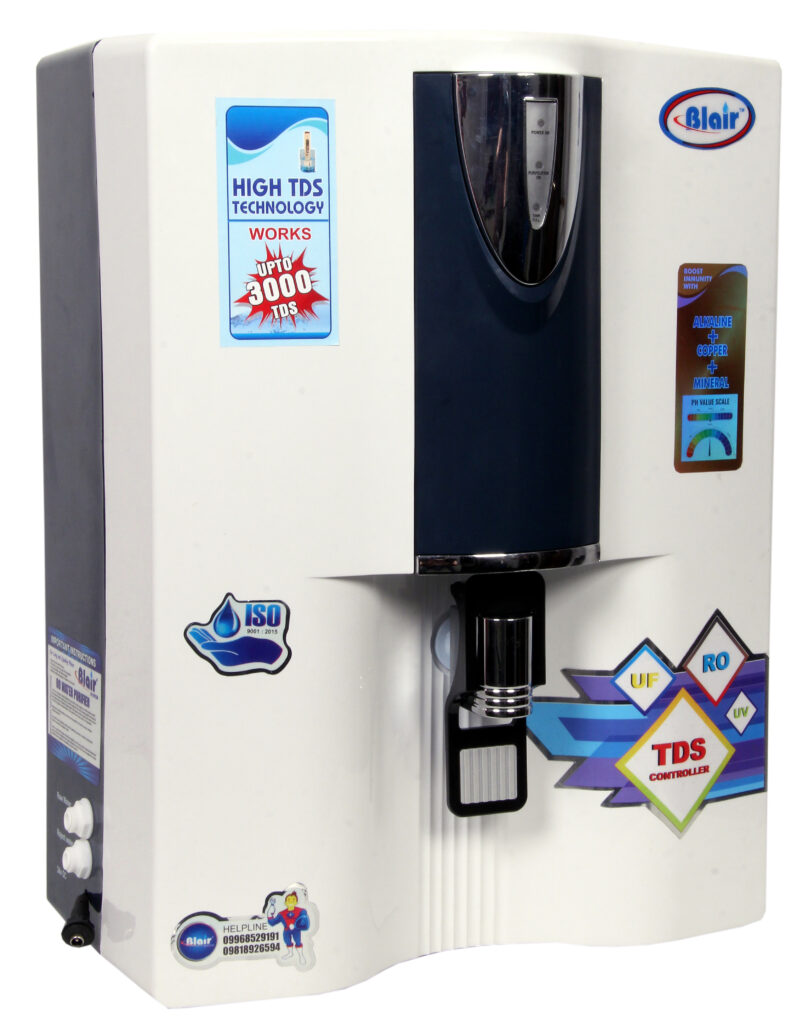
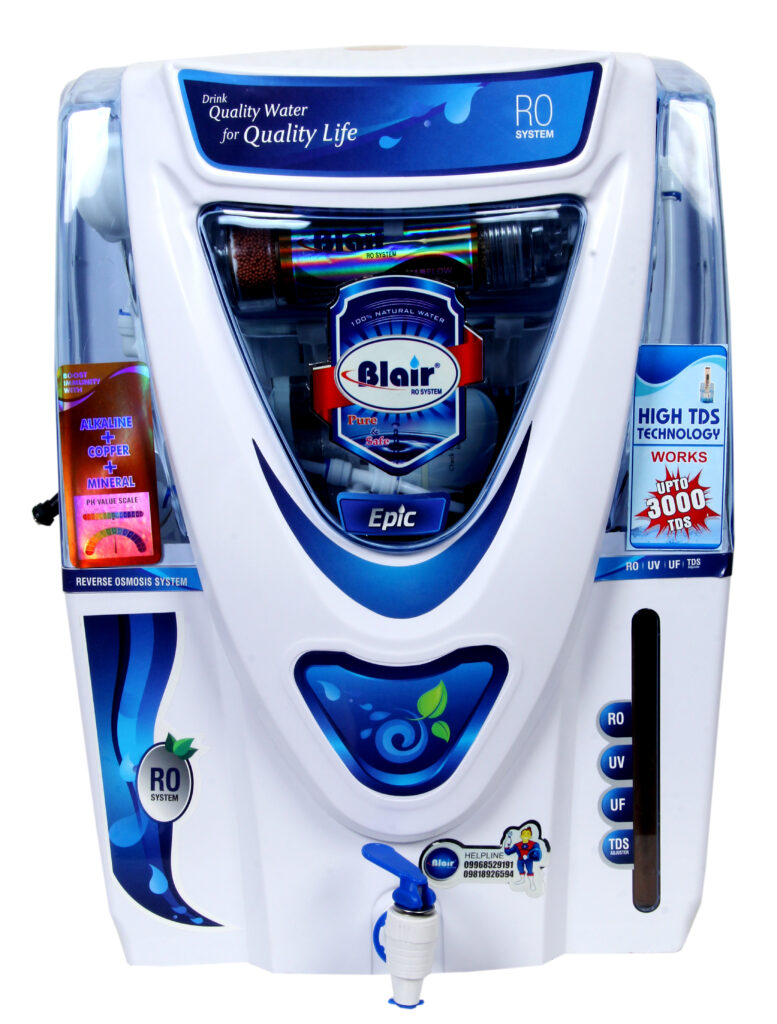
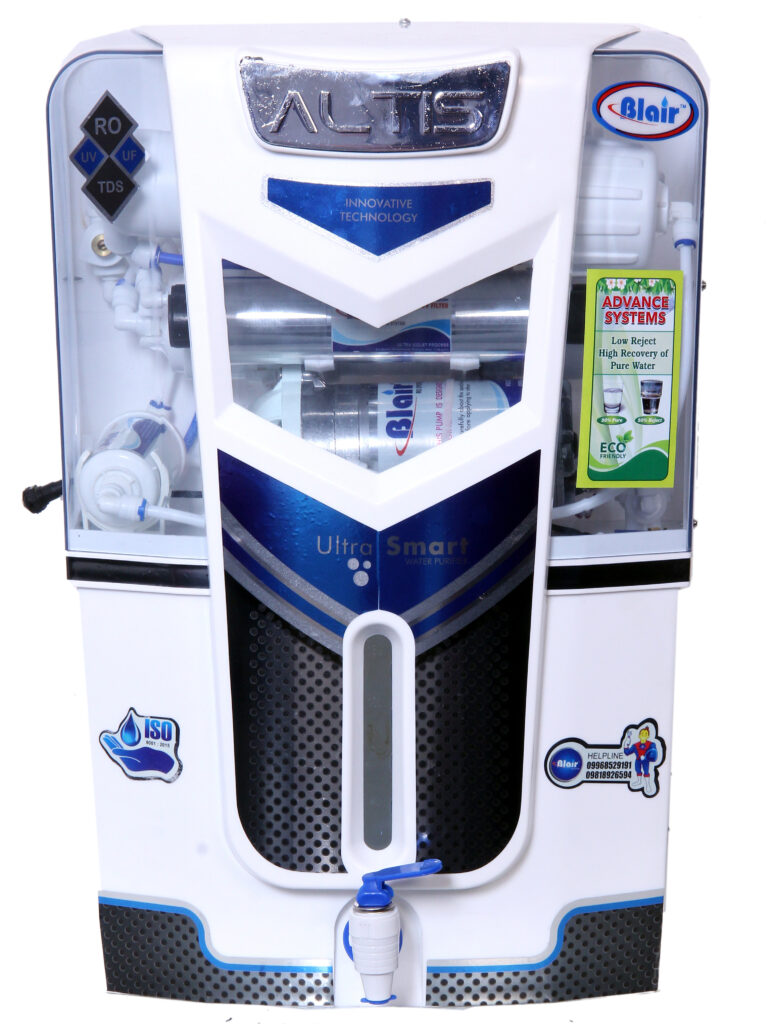
Clean and pure drinking water is essential for maintaining good health. Reverse osmosis (RO) water purifiers are an effective solution to ensure the removal of harmful contaminants from tap water. If you have recently purchased an RO water purifier and are unsure about how to assemble it, this comprehensive guide will walk you through the process, step by step.
“Water is the driving force of all nature.”
Leonardo da Vinci
Here is the Step by Step guide to how to assemble RO Water Purifier
Step 1: Unpack and Inspect
Upon receiving your RO water purifier, carefully unpack the components and inspect them for any damage. Ensure that you have all the necessary parts listed in the user manual.
Step 2: Preparing the System
Start by preparing the water purifier system. Connect the faucet diverter valve to the kitchen faucet using the provided adapter. Make sure it fits securely to avoid any leaks.
Step 3: Installing the Pre-filters
Next, install the pre-filters. These filters remove larger particles, sediment, and chlorine from the water. Attach the pre-filters to their respective housing units and connect them to the main unit using the provided tubing. Follow the manufacturer’s instructions for proper installation.
Step 4: Fixing the RO Membrane
The RO membrane is the heart of the water purifier system. Carefully insert it into the membrane housing and secure it in place. Be cautious not to touch the membrane surface with your bare hands, as it can lead to contamination.
Step 5: Connecting the Tubing
Connect the tubing to the various components of the water purifier system, including the pre-filters, RO membrane, and storage tank. Ensure a tight connection and double-check for any potential leaks.
Step 6: Flushing the System
Before using the RO water purifier, it’s crucial to flush the system to remove any residual contaminants. Follow the manufacturer’s instructions on how to flush the system properly. This step may involve running water through the purifier for a certain period to ensure optimal performance.
Step 7: Testing the Water Quality
After assembling and flushing the system, collect a sample of purified water and test it for quality. Use a water testing kit or take it to a certified laboratory to ensure that the water meets the desired standards.
Conclusion:
Assembling an RO water purifier can be a rewarding experience, knowing that you are taking a step towards providing clean and safe drinking water for you and your family. By following the steps outlined in this guide and carefully reading the manufacturer’s instructions, you can confidently assemble your RO water purifier and enjoy the benefits of pure, filtered water.


